| Creating Presentations with OpenOffice.org Impress | ||
|---|---|---|
 | Chapter 6. The OpenOffice.org Office Suite |  |
| Creating Graphics Using OpenOffice.org Draw | Chapter 7. The KWrite Text Editor | |
| Creating Presentations with OpenOffice.org Impress | ||
|---|---|---|
| | Chapter 6. The OpenOffice.org Office Suite | |
| Creating Graphics Using OpenOffice.org Draw | Chapter 7. The KWrite Text Editor | |
Less experienced users may prefer to use Autopilot to create presentations. Select -> -> . With the AutoPilot, define the basic structure of a presentation in three brief steps. In doing so, set backgrounds, the output medium, and various effects. You can also import data from an existing presentation with the help of assistants.
After completing the procedure by clicking , Impress offers a number of templates for the page layout. Select one that suits your purposes and enter a name for the first slide. Then click to generate the first slide of the new presentation.
To complete your presentation, enter a title and the text for each page. When finished, view the presentation by selecting -> . To advance to the next page during the show, press the left mouse button. To exit from it, press Esc. Refer to the help system of OpenOffice.org to learn more.
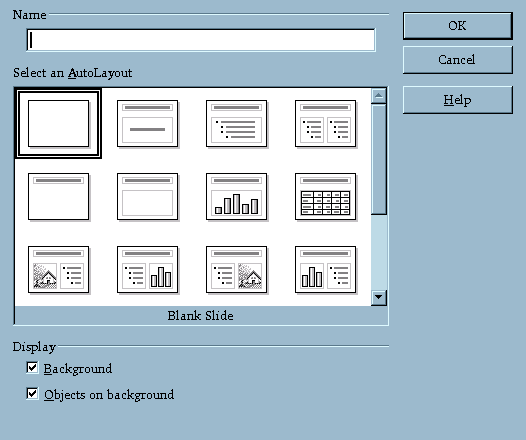
To add another slide to your presentation, select -> . This opens the dialog window shown in Figure 6.11: “Inserting Slides in Impress”. Enter a name for the slide and determine which of the predefined layouts to use. Then click to insert the slide or to abort the procedure. To use templates, select -> -> .
| |  | |
| Creating Graphics Using OpenOffice.org Draw |  | Chapter 7. The KWrite Text Editor |