| Creating a New Contact | ||
|---|---|---|
 | Chapter 10. Address Management with KAddressBook |  |
| Chapter 10. Address Management with KAddressBook | Creating Address Lists | |
| Creating a New Contact | ||
|---|---|---|
| | Chapter 10. Address Management with KAddressBook | |
| Chapter 10. Address Management with KAddressBook | Creating Address Lists | |
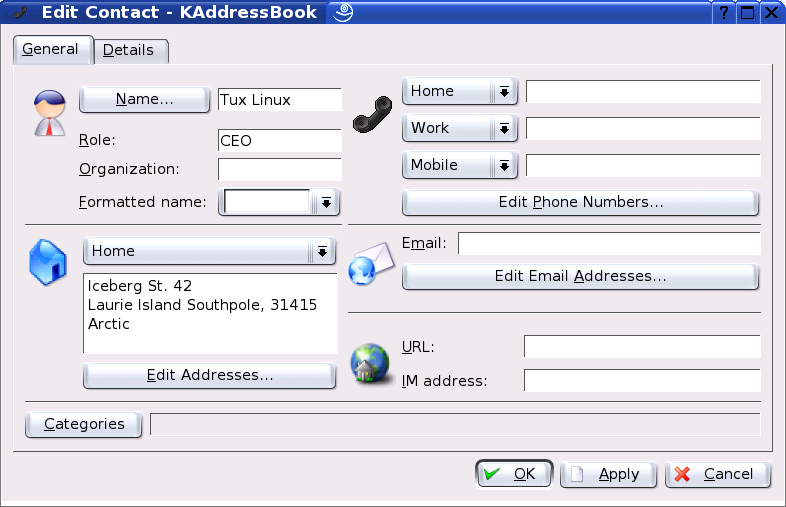
Open the contact editor with -> , the respective icon, or the entry in the toolbar. A dialog opens with two tabs in which to make your entries. Refer to Figure 10.2: “Recording New Contact Information”.
Enter all important information, including the name, title, private and business addresses, all phone numbers, e-mail addresses, and URLs, under the tab. If desired, assign the contact to a category that can later be used for filtering the address view. Select a standard category (Family, Friend, Business, Customer, or School) or create a new category.
The tab contains some useful additional information, such as birthdays and anniversaries, and offers the possibility to add comments for this contact. As soon as all required fields under these tabs are completed, save the data with . The new contact then appears in a list of current contacts in the left part of the window.
| |  | |
| Chapter 10. Address Management with KAddressBook |  | Creating Address Lists |