| SUSE LINUX Enterprise Server – Installation and Administration Chapter 1. Installation with YaST / 1.8. Finishing the Installation | ||||
|---|---|---|---|---|
 | 1.7. Installation Suggestion | 1.9. Hardware Configuration |  | |
| SUSE LINUX Enterprise Server – Installation and Administration Chapter 1. Installation with YaST / 1.8. Finishing the Installation | ||||
|---|---|---|---|---|
| 1.7. Installation Suggestion | 1.9. Hardware Configuration | | |
After completing the basic system setup and the installation of all selected software packages, provide a password for the account of the system administrator (the root user). You can then configure your Internet access and network connection. With a working Internet connection, you can perform an update of the system as part of the installation. If desired, also configure a name server for centralized user administration in a local network. Finally, you can round off the installation with the configuration of the hardware devices connected to the machine.
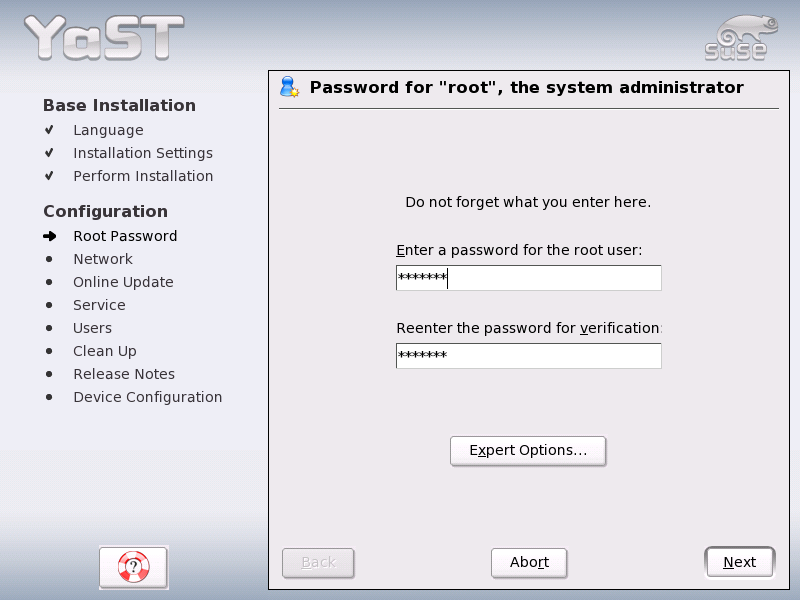
root is the name of the superuser, the administrator of the system. Unlike regular users, which may or may not have permission to do certain things on the system, root has unlimited power to do anything: change the system configuration, install programs, and set up new hardware. If users forget their passwords or have other problems with the system, root can help. The root account should only be used for system administration, maintenance, and repair. Logging in as root for daily work is rather risky: a single mistake could lead to irretrievable loss of many system files.
For verification purposes, the password for root must be entered twice (Figure 1.16. “Setting the root Password”). You should never forget the root password. Once entered this password cannot be retrieved.
![[Tip]](admon/tip.png) | S/390, zSeries: Network Configuration |
|---|---|
For IBM S/390 and zSeries platforms, a working network connection is needed at installation time to connect to the target system, the installation source, and the YaST terminal controlling the process. The steps to set up the network are discussed in the network configuration chapter of the Architecture-Specific Information manual. The S/390 and zSeries platforms only support the types of network interfaces mentioned in that chapter (OSA Token Ring, OSA Ethernet, OSA Gigabit Ethernet, OSA Express Fast Ethernet, Escon, IUCV, OSA Express High-Speed Token Ring). The YaST dialog simply displays the interface with its settings as previously configured. Just confirm this dialog to continue. | |
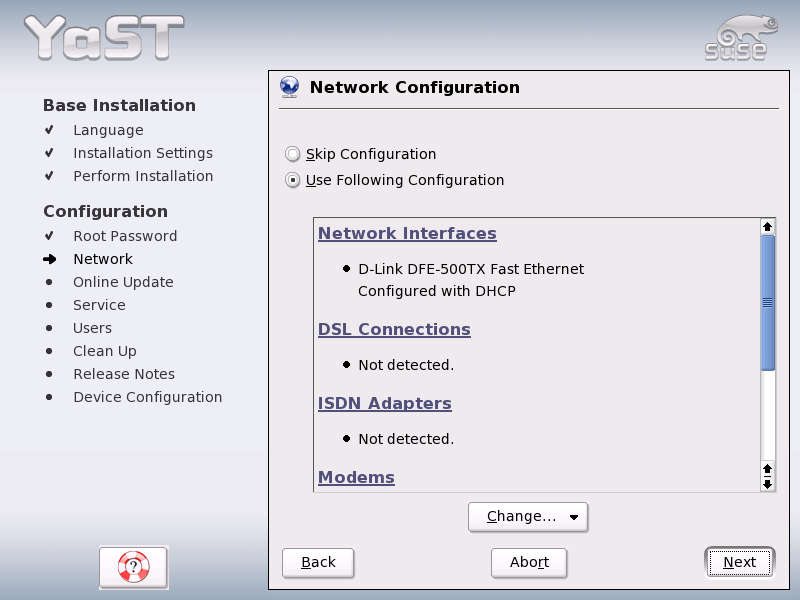
You can now configure the network connections of your system. If you have such devices, it is a good idea to configure them now, because an Internet connection allows YaST to retrieve any available SUSE LINUX updates and to include them in the installation.
To configure your network hardware now, refer to the relevant parts of Section 2.5. “Network Devices”. Otherwise, select and confirm with . The network hardware can also be configured after the system installation has been completed.
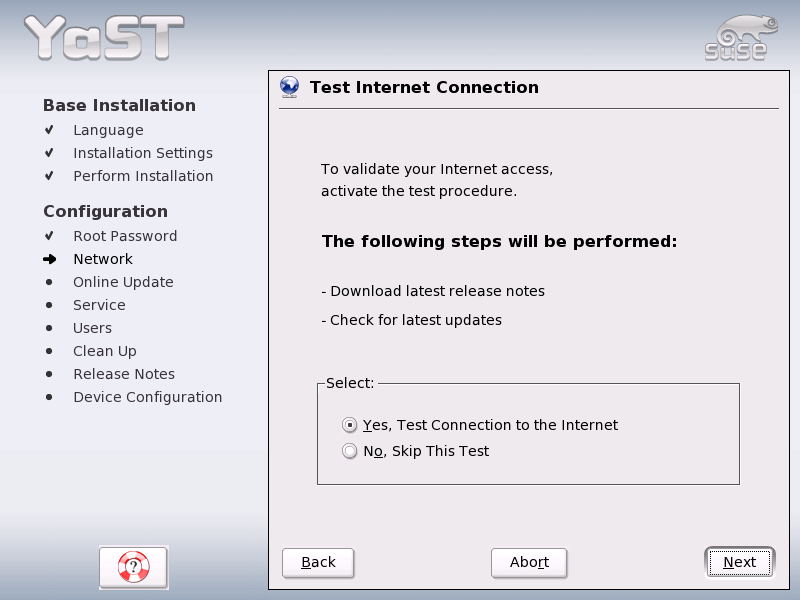
If you have configured an Internet connection, you can test it now. For this purpose, YaST establishes a connection to the SUSE server and checks if any product updates are available for your version of SUSE LINUX. If there are such updates, they can be included in the installation. Also, the latest release notes are downloaded. You can read them at the end of the installation.
If you do not want to test the connection at this point, select then . This also skips downloading product updates and release notes.
If YaST was able to connect to the SUSE servers, select whether to perform a YaST online update. If there are any patched packages available on the servers, download and install them now to fix known bugs or security issues.
To perform a software update immediately, select and click . This opens YaST's online update dialog with a list of the available patches (if any), which can be selected and loaded. To learn about the process, read Section 2.3.2. “YaST Online Update”. This kind of update can be performed at any time after the installation. If you prefer not to update now, select then click .
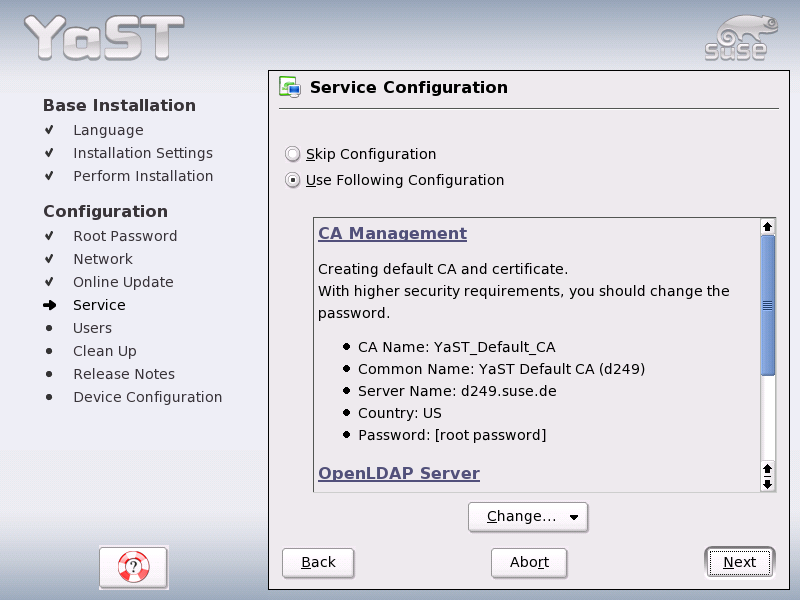
After testing the Internet connection and downloading the first updates, a dialog opens in which to enable and to configure two important network services (see Figure 1.19. “Proposed Setup for Network Services”):
The purpose of a CA (Certificate Authority) is to guarantee a trust relationship among all network services communicating with each other. If you decide that you do not want to establish a CA, secure server communications on the basis of SSL and TLS, but separately for each individual service. By default, a CA is created and enabled during the installation. Details about the creation of a CA with YaST are found in Section 26.1. “X.509 Certification with YaST”, together with some background information on the topic.
You can run an LDAP service on your host to have a central facility managing a range of configuration files. Typically, an LDAP server handles user account data, but with SUSE LINUX Enterprise Server it can also be used for mail, DHCP, and DNS related data. By default, an LDAP server is set up during the installation. If you decide against the use of an LDAP server, the YaST mail server module will not work because it depends on LDAP functionality. Nevertheless, you can still set up a mail server on your system with the help of the module. Details about LDAP and its configuration with YaST are found in Section 21.8. “LDAP — A Directory Service”.
Like the general network configuration, you may skip this configuration proposal for now. After the installation is finished, you can still configure and start the same services with the help of YaST.
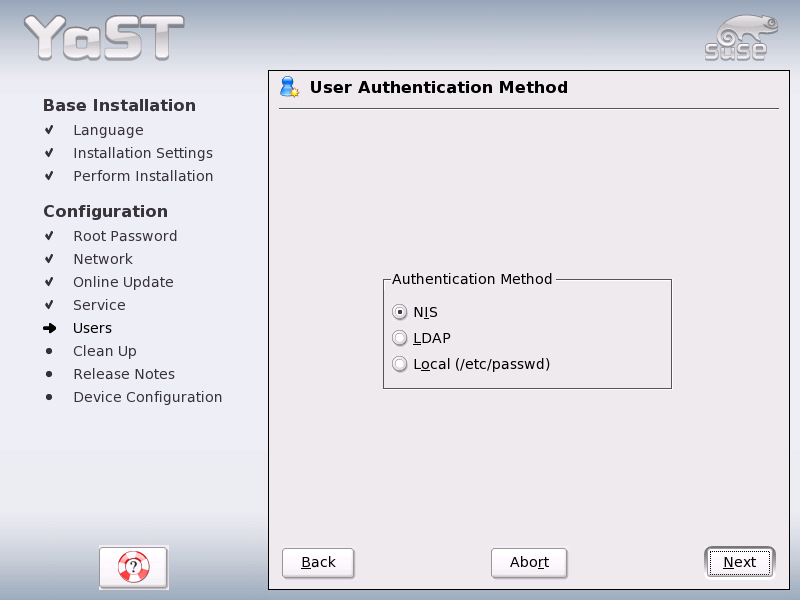
If the network access was configured successfully during the previous steps of the installation, you now have different possibilities for managing user accounts on your system.
User account data is managed centrally by a NIS server.
User account data is managed centrally by an LDAP server.
This setup is used for systems where no network connection is available or where users are not supposed to log in from a remote location at all. User accounts are managed using the local /etc/passwd file.
If all requirements are met, YaST opens a dialog in which to select the user administration method. It is shown in Figure 1.20. “User Authentication”. If you do not have the necessary network connection, create local user accounts.
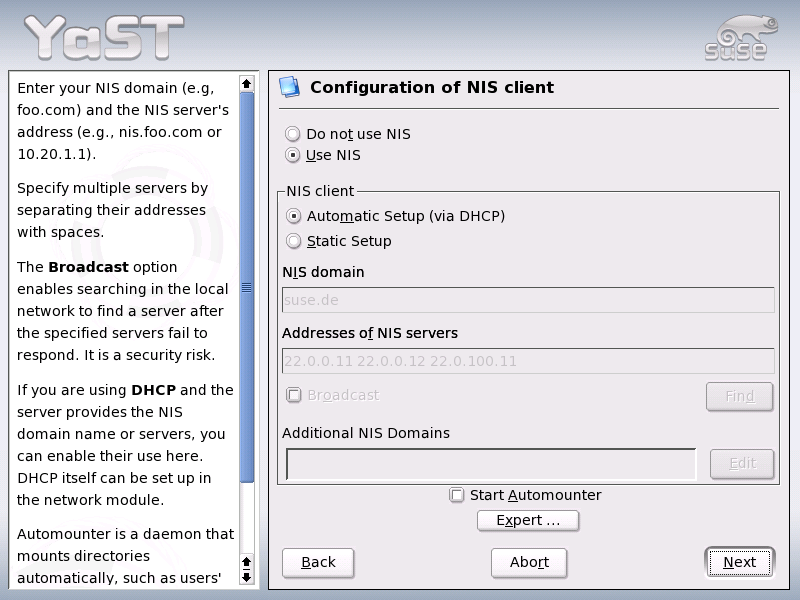
To manage user accounts through NIS, configure the host as a NIS client. To learn how to configure a NIS server with YaST, read Section 21.9. “NIS — Network Information Service”.
In the following dialog, shown in Figure 1.21. “NIS Client Configuration”, first select whether the host has a fixed IP address or gets one via DHCP. If you select DHCP, you cannot specify a NIS domain or NIS server address, because these are provided by the DHCP server. For information about DHCP, read Section 21.11. “DHCP”. If a static IP address is used, specify the NIS domain and the NIS server manually.
To search for NIS servers broadcasting in the network, check the relevant option. You can also specify several NIS domains and set a default domain. For each domain, select to specify several server addresses or enable the broadcast function on a per-domain basis.
In the expert settings, use to prevent other network hosts from being able to query which server your client is using. If you activate , responses from servers on unprivileged ports are also accepted. For more information, refer to the man page of ypbind.
If you decide against a name server for user authentication, create local users. Any data related to user accounts (name, login, password, etc.) are stored and managed on the installed system.
Linux is an operating system that allows several users to work on the same system at the same time. Each user needs a user account to log in to the system. By having user accounts, the system gains a lot in terms of security. For instance, regular users cannot change or delete files needed for the system to work properly. At the same time, the personal data of a given user cannot be modified, viewed, or tampered with by other users. Each user can set up his own working environment and always find it unchanged when logging back in.
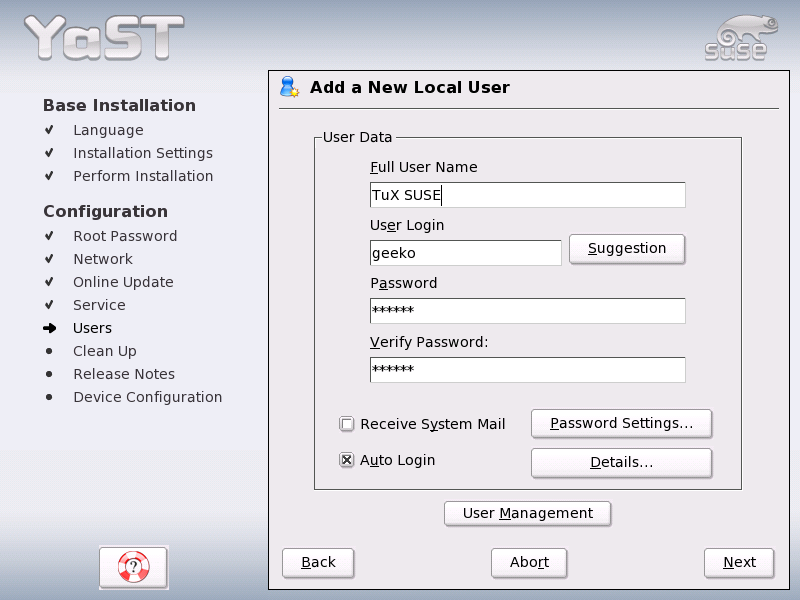
A user account can be created using the dialog shown in Figure 1.22. “Entering the User Name and Password”. After entering the first name and last name, specify the user name (login). Click for the system to generate a user name automatically.
Finally, enter a password for the user. Reenter it for confirmation (to ensure that you did not type something else by mistake).
To provide effective security, a password should be between five and eight characters long. The maximum length for a password is 128 characters. However, if no special security modules are loaded, only the first eight characters are used to discern the password. Passwords are case-sensitive. Special characters like umlauts are not allowed. Other special characters (7-bit ASCII) and the digits 0 to 9 are allowed.
Two additional options are available for local users:
Checking this box sends the user messages created by the system services. These are usually only sent to root, the system administrator. This option is useful for the most frequently used account, because it is highly recommended to log in as root only in special cases.
This option is only available if KDE is used as the default desktop. It automatically logs the current user into the system when it starts. This is mainly useful if the computer is operated by only one user. For the automatic login to work, the option must be explicitly enabled.
![[Warning]](admon/warning.png) | Automatic Login |
|---|---|
With the automatic login enabled, the system boots straight into your desktop with no authentication whatsoever. Therefore, if you store sensitive data on your system, you should not enable this option if the computer can also be accessed by others. | |
After completing the user authentication setup, YaST displays the release notes. Reading them is advised because they contain important up-to-date information that was not available when the manuals were printed. If you have installed update packages, you will be reading the most recent version of the release notes, as fetched from SUSE's servers.